Bitbucket Continuous Deployment
With the recent news that GitHub Actions will now be supporting continuous deployment for free, I figured I would try my hand at setting up some continuous deployment for my site. As of writing, my site is hosted on Firebase using their generous free tier, what little javascript code that runs on my site is vanilla paired with Material Web Components, the site itself is a Hugo static site, and my source code is stored with Bitbucket. Luckily, my build process is already well defined, so today I will just adding a bitbucket-pipelines.yml file.
Setting Up The Pipeline
Normally you would have separate environments for testing, but here I am just looking for a deploy when I push a new article kind of deal. To get started, enable pipelines in the project settings and add a bitbucket-pipelines.yml file. Bitbucket offers some quick templates to get you going, but you can find more details on the syntax in their documentation.
Here is what we will be using today:
image: node:12

pipelines:
  branches:
    master:
      - step:
          name: "Deploy to firebase"
          deployment: production
          caches:
            - node
          script:
            - npm install
            - npm run build
            - pipe: atlassian/firebase-deploy:0.3.1
              variables:
                FIREBASE_TOKEN: $FIREBASE_TOKEN
Bitbucket offers some predefined pipes to make life a bit easier. Here I am using the Firebase pipe to deploy the project. This will deploy your site based on the existing firebase.json and .firebaserc files. If you want to know about how that pipe works, the source code is on Bitbucket.
Make It Actually Work
We have to add the key we will be using for deployment. On Bitbucket, open the project settings. Choose deployment under pipelines, and expand production. Bitbucket manually creates three different environments for you, but we will just be using production since we are terrible human beings. Remember to secure the FIREBASE_TOKEN variable so your application doesn’t leak application secrets into the logs.
So what is this Firebase token? Well, it will be a token used by continuous deployment server to authenticate with Firebase. You can generate one by running npx firebase login:ci. Copy the generated value over to Bitbucket and save the variable.
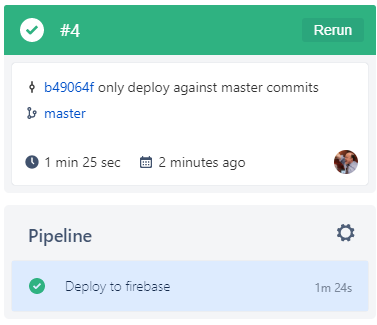
That is it - you should see a nice green success message under your deployments tab.

Conclusion
So really, did I need to do this? No. My simple little blog site doesn’t need the power of the cloud™, but continuous integration and deployment are things I find interesting.